Workbench Quick Evaluation Guide
Perfectly Clear Workbench is our desktop (Windows & Mac) demo software where you can evaluate the excellent quality of Perfectly Clear’s automatic corrections.
This quick guide covers everything you need to start your evaluation. For full details on every feature, see the Workbench User Guide.
Before You Start
Important Concepts
- AI Models: We have 4 different models. See AI Models below.
- AI Scene Detection: Each AI Model has a different set of scenes created for that type of photography. For every photo, a scene is automatically detected.
- Presets: Each scene has a preset associated with it, which is automatically applied.
Simple vs Edit Mode
When you launch Perfectly Clear Workbench, you’ll see Simple Mode (default) and Edit Mode at the top. Simple Mode is for testing out the power of Perfectly Clear, while Edit Mode allows you to dive into the corrections and presets, and make any tweaks you may need.
AI Models
We have 4 AI models:
- Universal Model (default): Designed for a wide array of photos. If your business has imagery of people, landscapes, and objects, this model is for you. The results are more vibrant colors with pleasing exposure.
- Pro: Created for professional portrait photographers, pro labs and studios, where the original images have a higher quality starting point, and thus the auto corrections are more subtle.
- School & Sports: Designed with school and sports photographers and high-volume portrait photographers in mind. The scenes are calibrated specifically to school and sport photography settings.
- Attractions & Cruise Lines: Automatic results are optimized for a wide variety of (changing) outdoor lighting and fixed indoor lighting, which account for rides and roving photography that is often photographed into bright sky.
Click here to learn more about AI Models
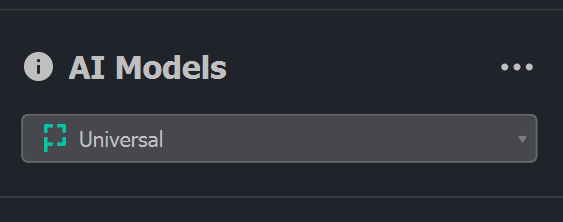
To change models, switch to Edit Mode. You’ll see our AI Models on the top left. The Universal Model will automatically be loaded. Click the dropdown to switch between models.
How We Recommend You Test
-
We recommend you use 35–50 images. Ensure the images are a representation of the type of images you receive, i.e. not just really bad ones, but a wide variety: indoor, outdoor, people, landscape, pets, food, newborn, nighttime, etc.
-
Load photos into Workbench.
-
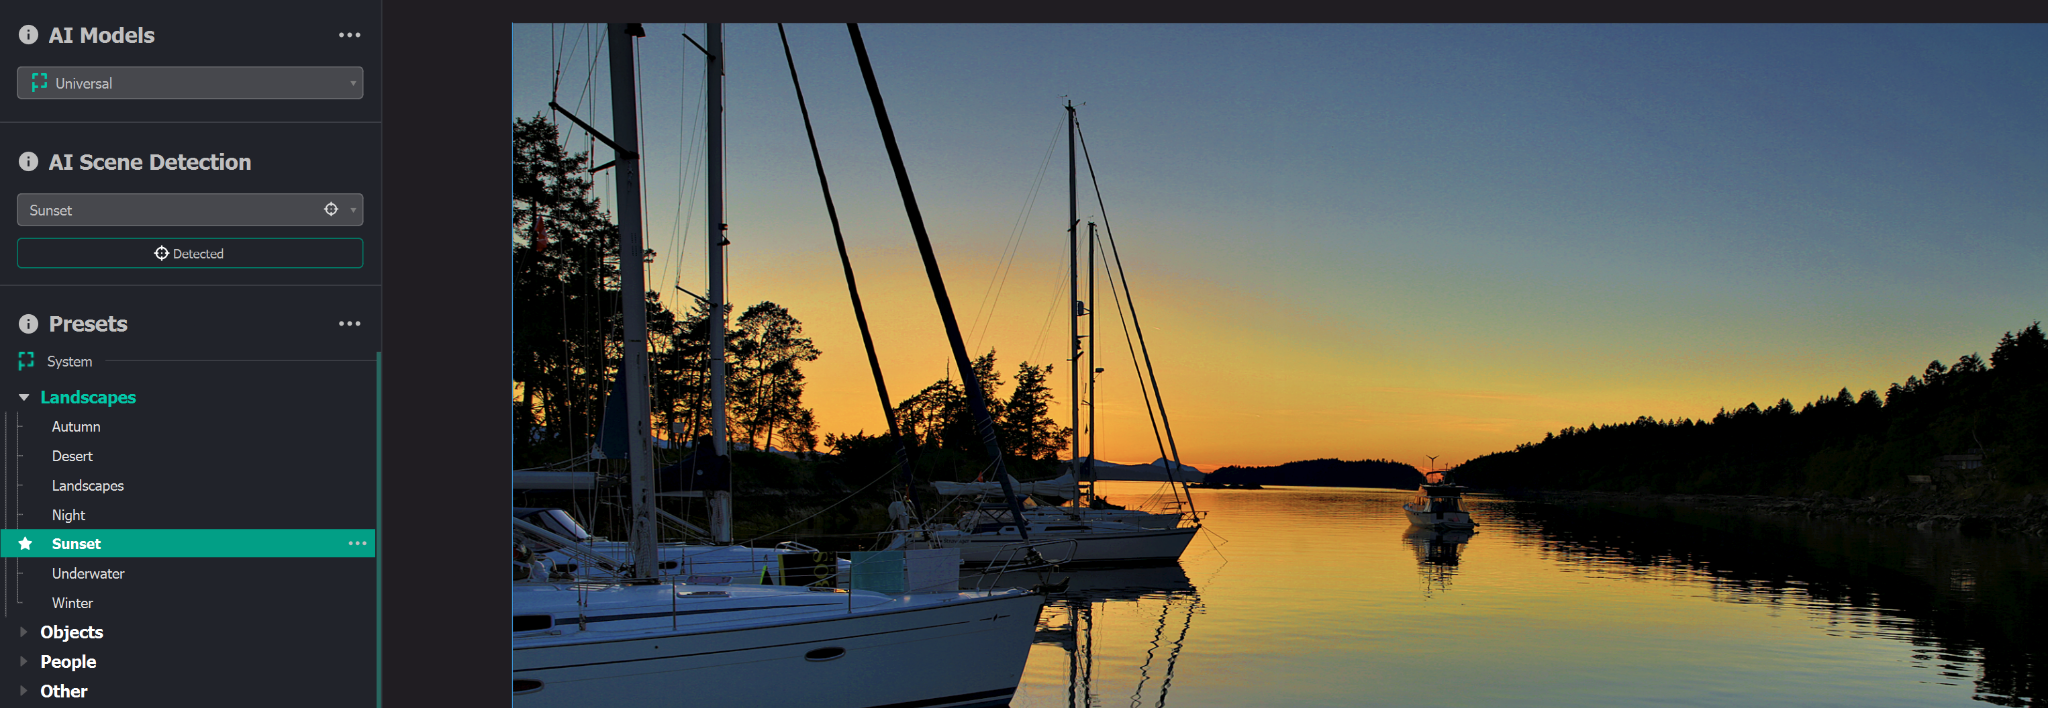
We will automatically analyze the photo, detect the scene, and apply the optimal preset with corrections customized for each scene. When you’re in Edit Mode, the detected scene will be shown (Sunset in this example) and the preset associated with this scene will be highlighted (Sunset in this example). As you click on the thumbnails at the bottom, you’ll see the detected scenes and presets update in real time.
-
Press the spacebar (or left mouse click) to toggle between the before and after. Then advance to the next photo. When finished, press the Save All button.
-
Let us know what you think! Based on your feedback, we can help you tweak the presets and make custom presets if necessary.
Useful Links
For a deeper dive, here are some useful links:
Important Note
We request that you involve us in the process when you evaluate Perfectly Clear image quality.
Why? We’re passionate about image quality and want to ensure that you get the best. Involving us helps us understand your needs and preferences better, and we can tweak our presets and corrections to achieve optimal results for your needs.
For any further questions regarding Workbench, you can always contact your Perfectly Clear account representative or get in touch with us here.
Still have questions?
Contact our team ↗